Introduction: Why DIY Floorcovering?
Welcome to Hawkins Home Improvement & Floorcovering's beginner-friendly guide on DIY floorcovering for your Hyattsville home. Whether you're looking to refresh a single room or completely overhaul your home's flooring, DIY projects can be a rewarding and cost-effective approach. In 2026, with the latest trends and materials, it's easier than ever for homeowners to undertake these projects. Let's explore practical tips and steps to get started.
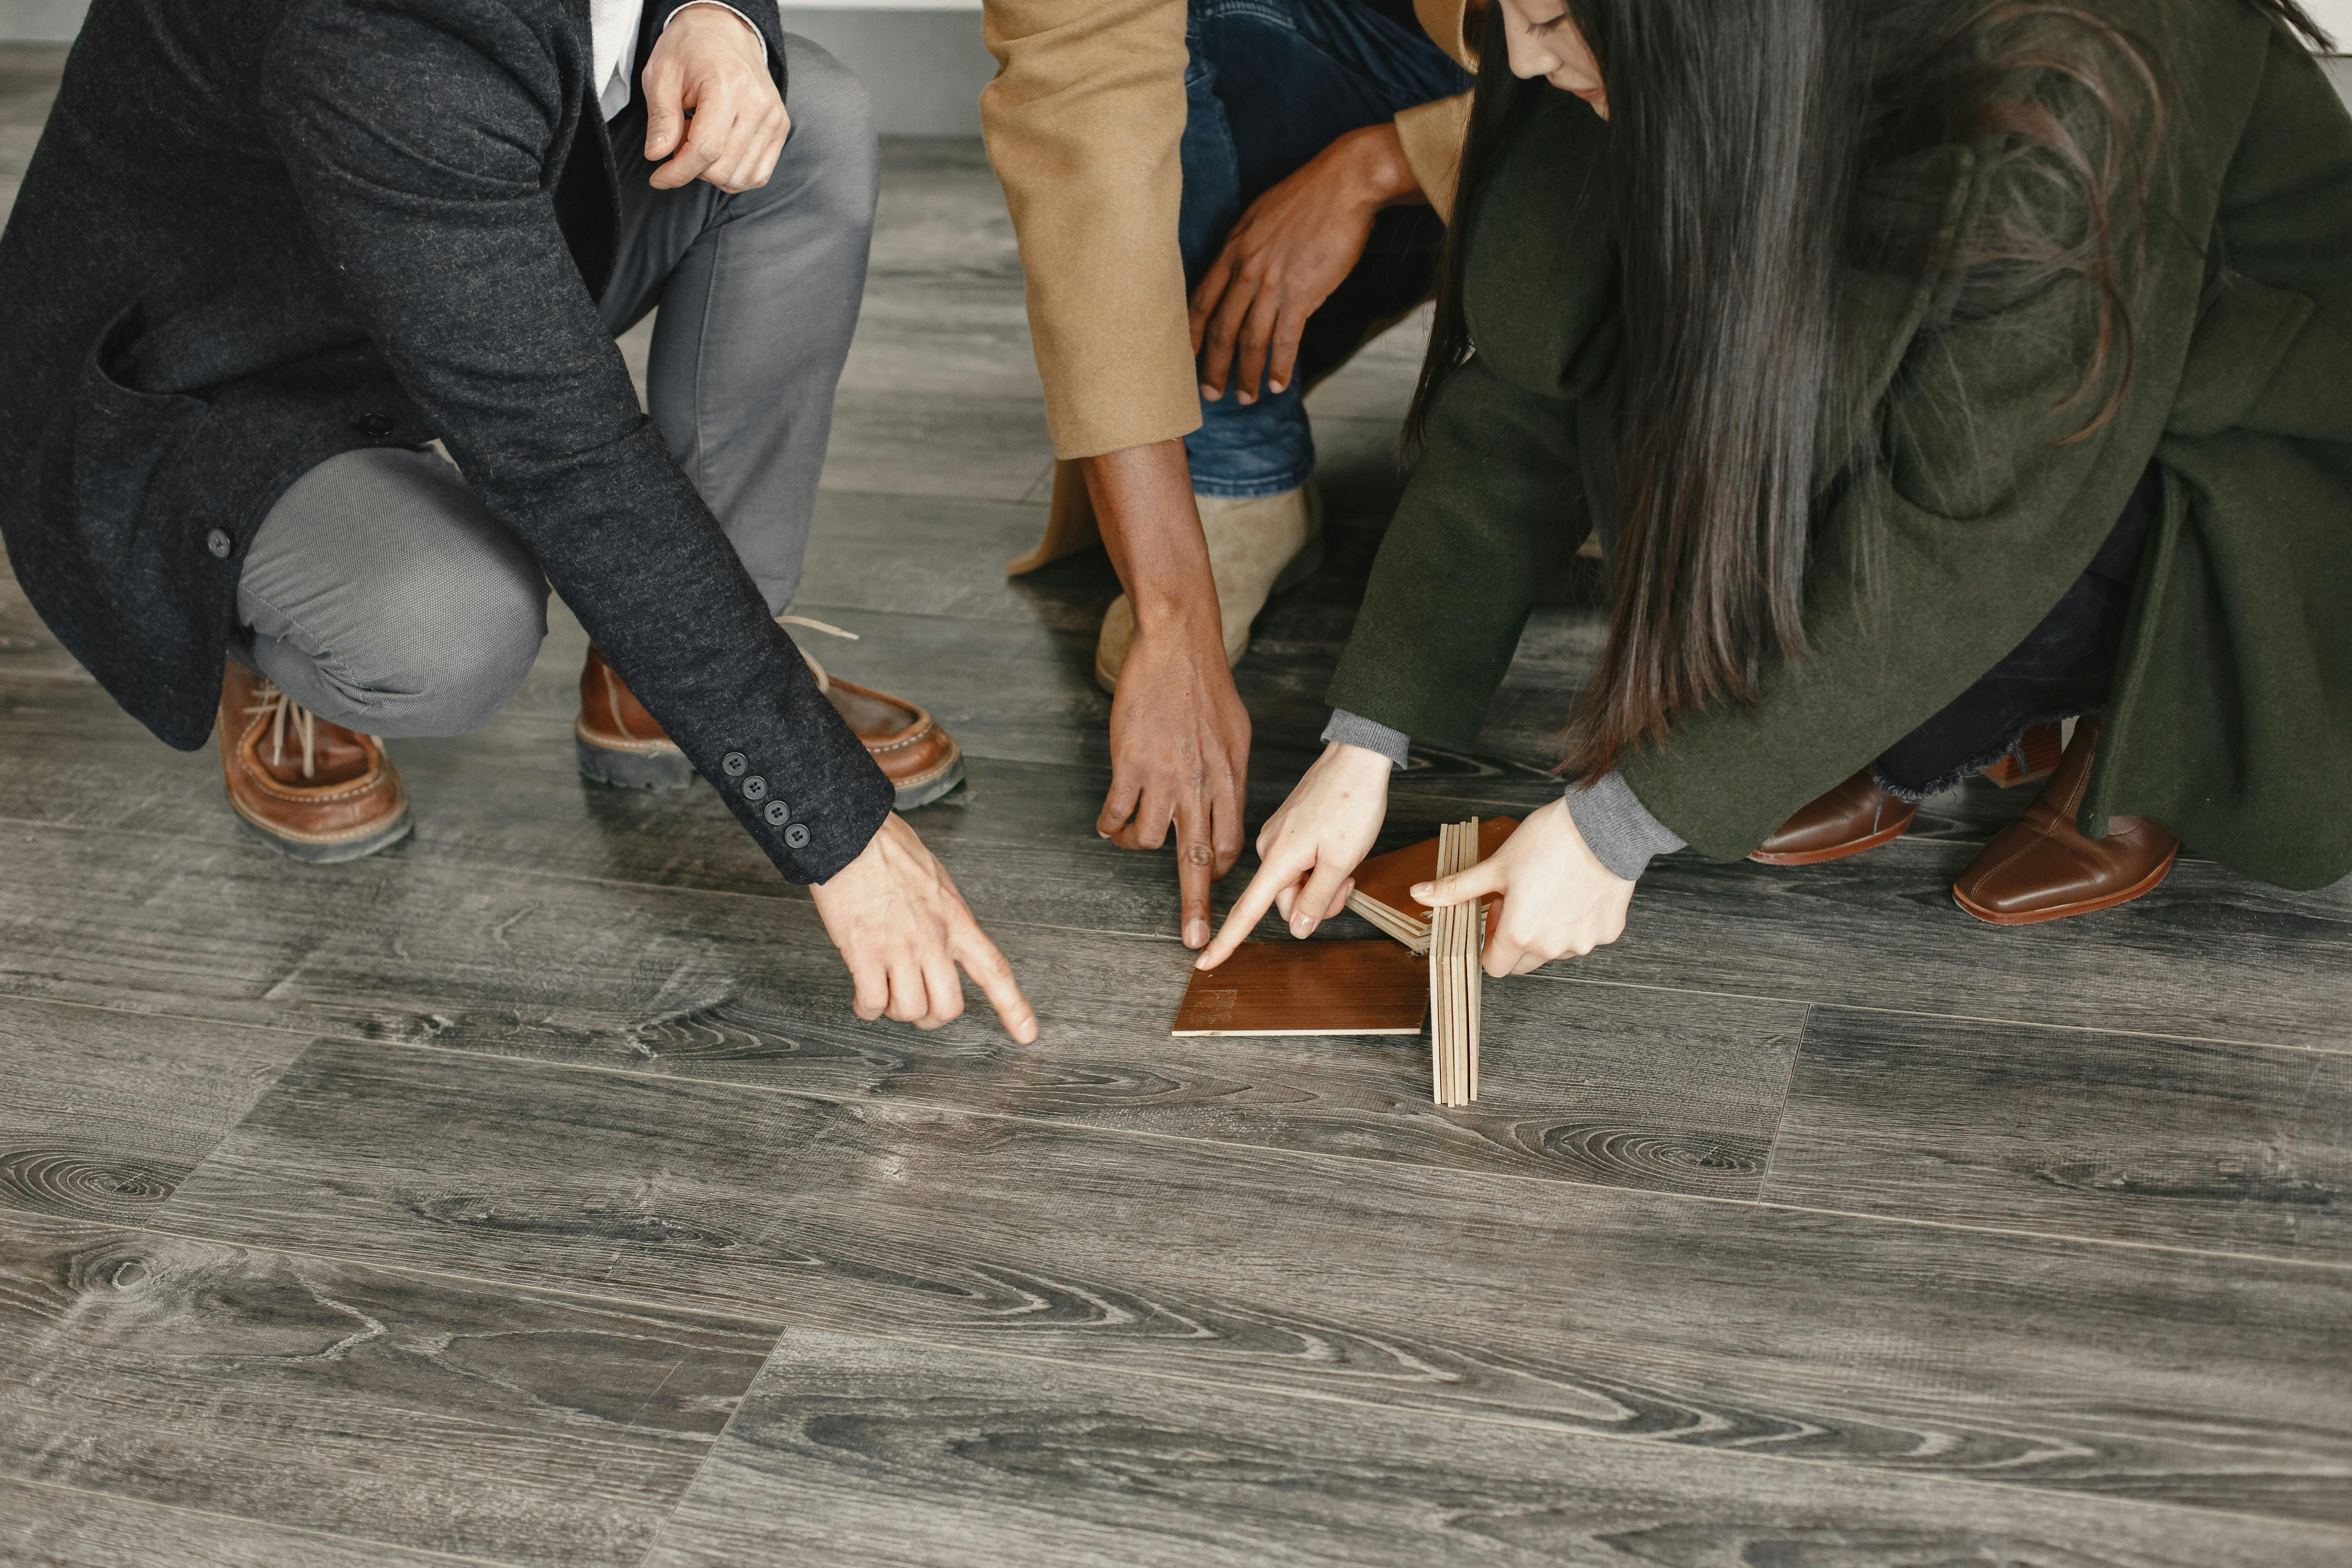
Step 1: Assess Your Space and Choose the Right Flooring
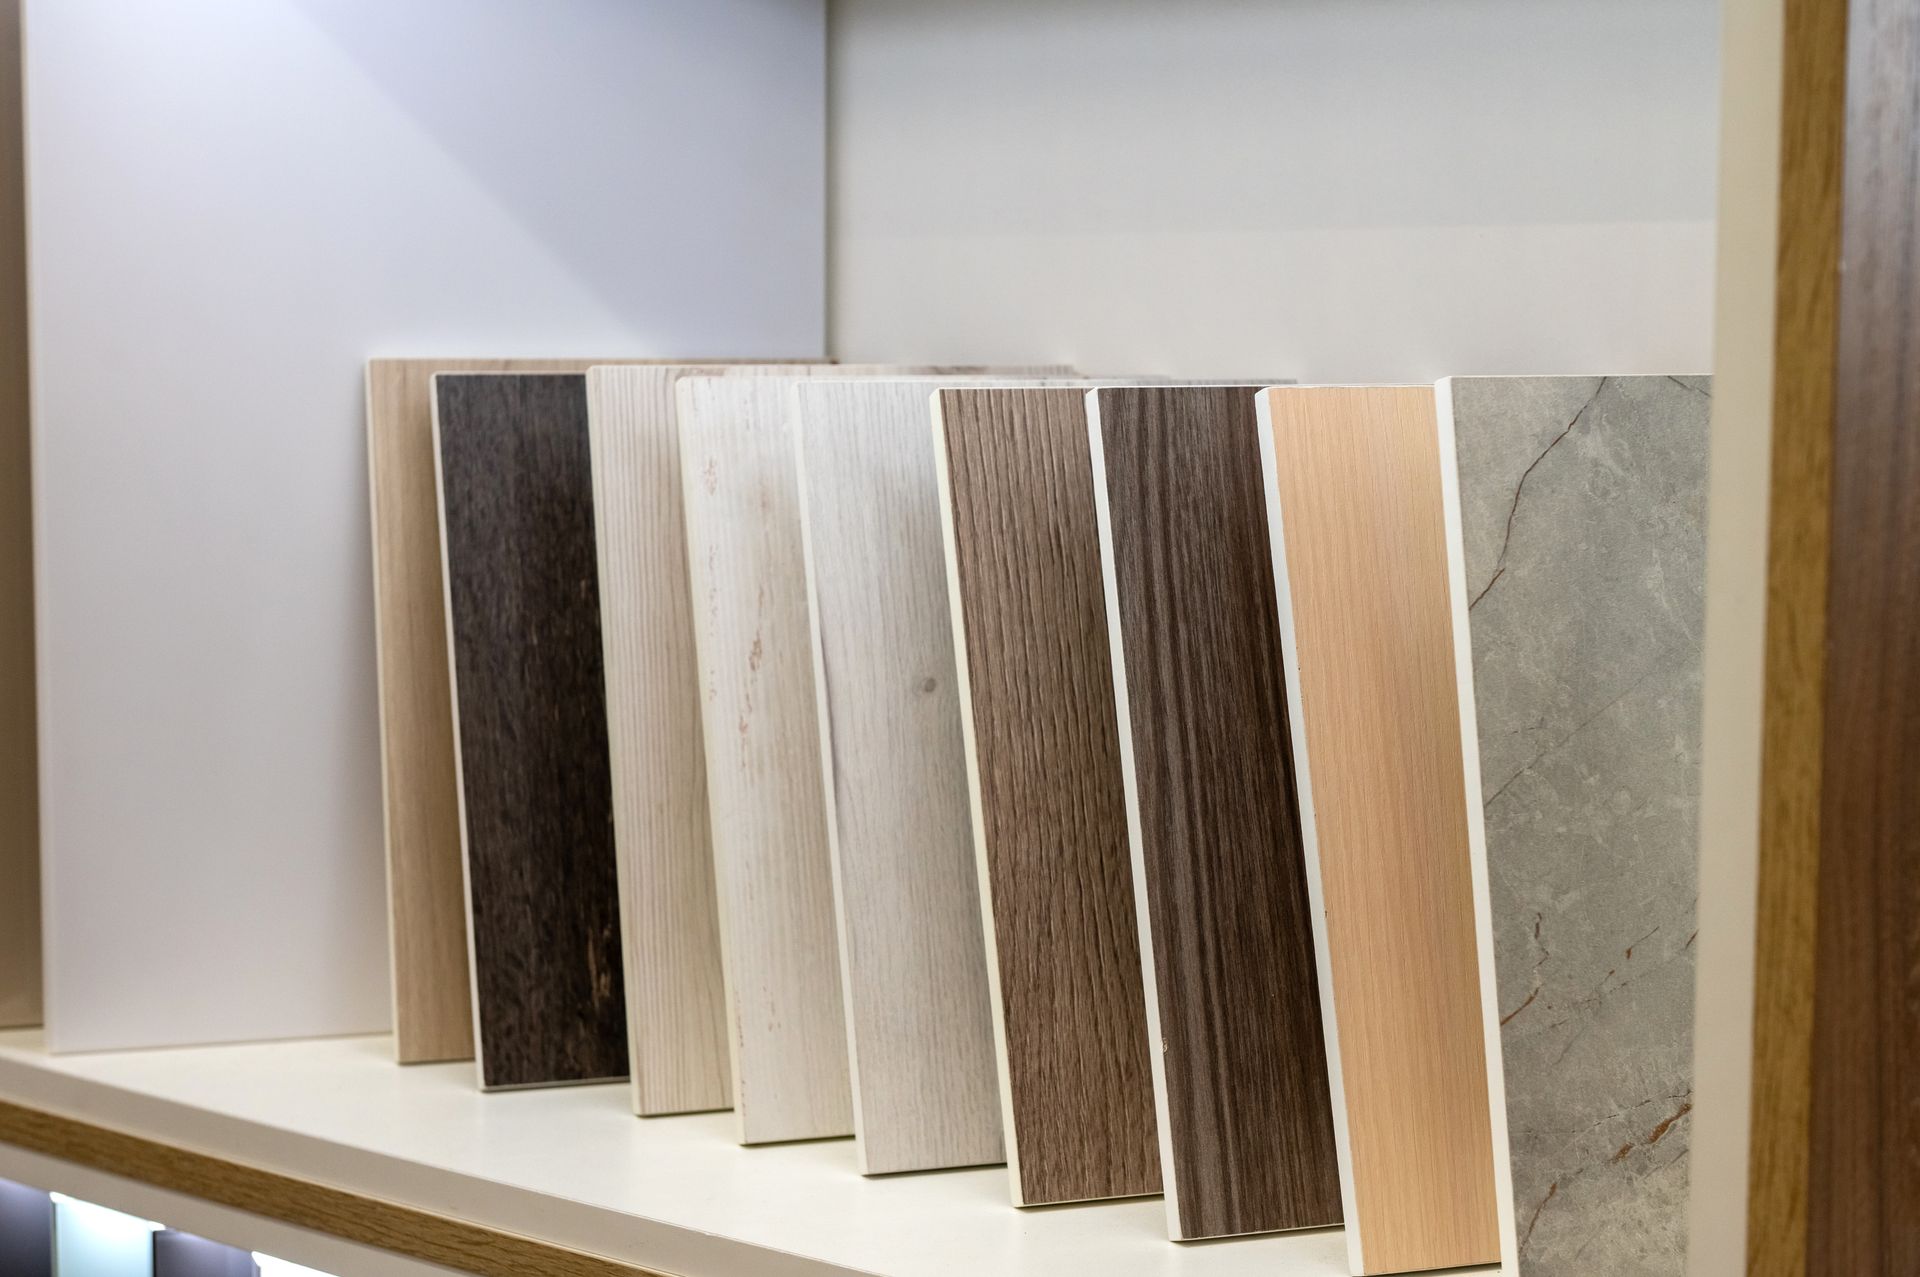
Before diving into your DIY floorcovering project, it's crucial to assess your space. Consider the room's function, foot traffic, and your personal style. Here are some popular flooring options for different areas:
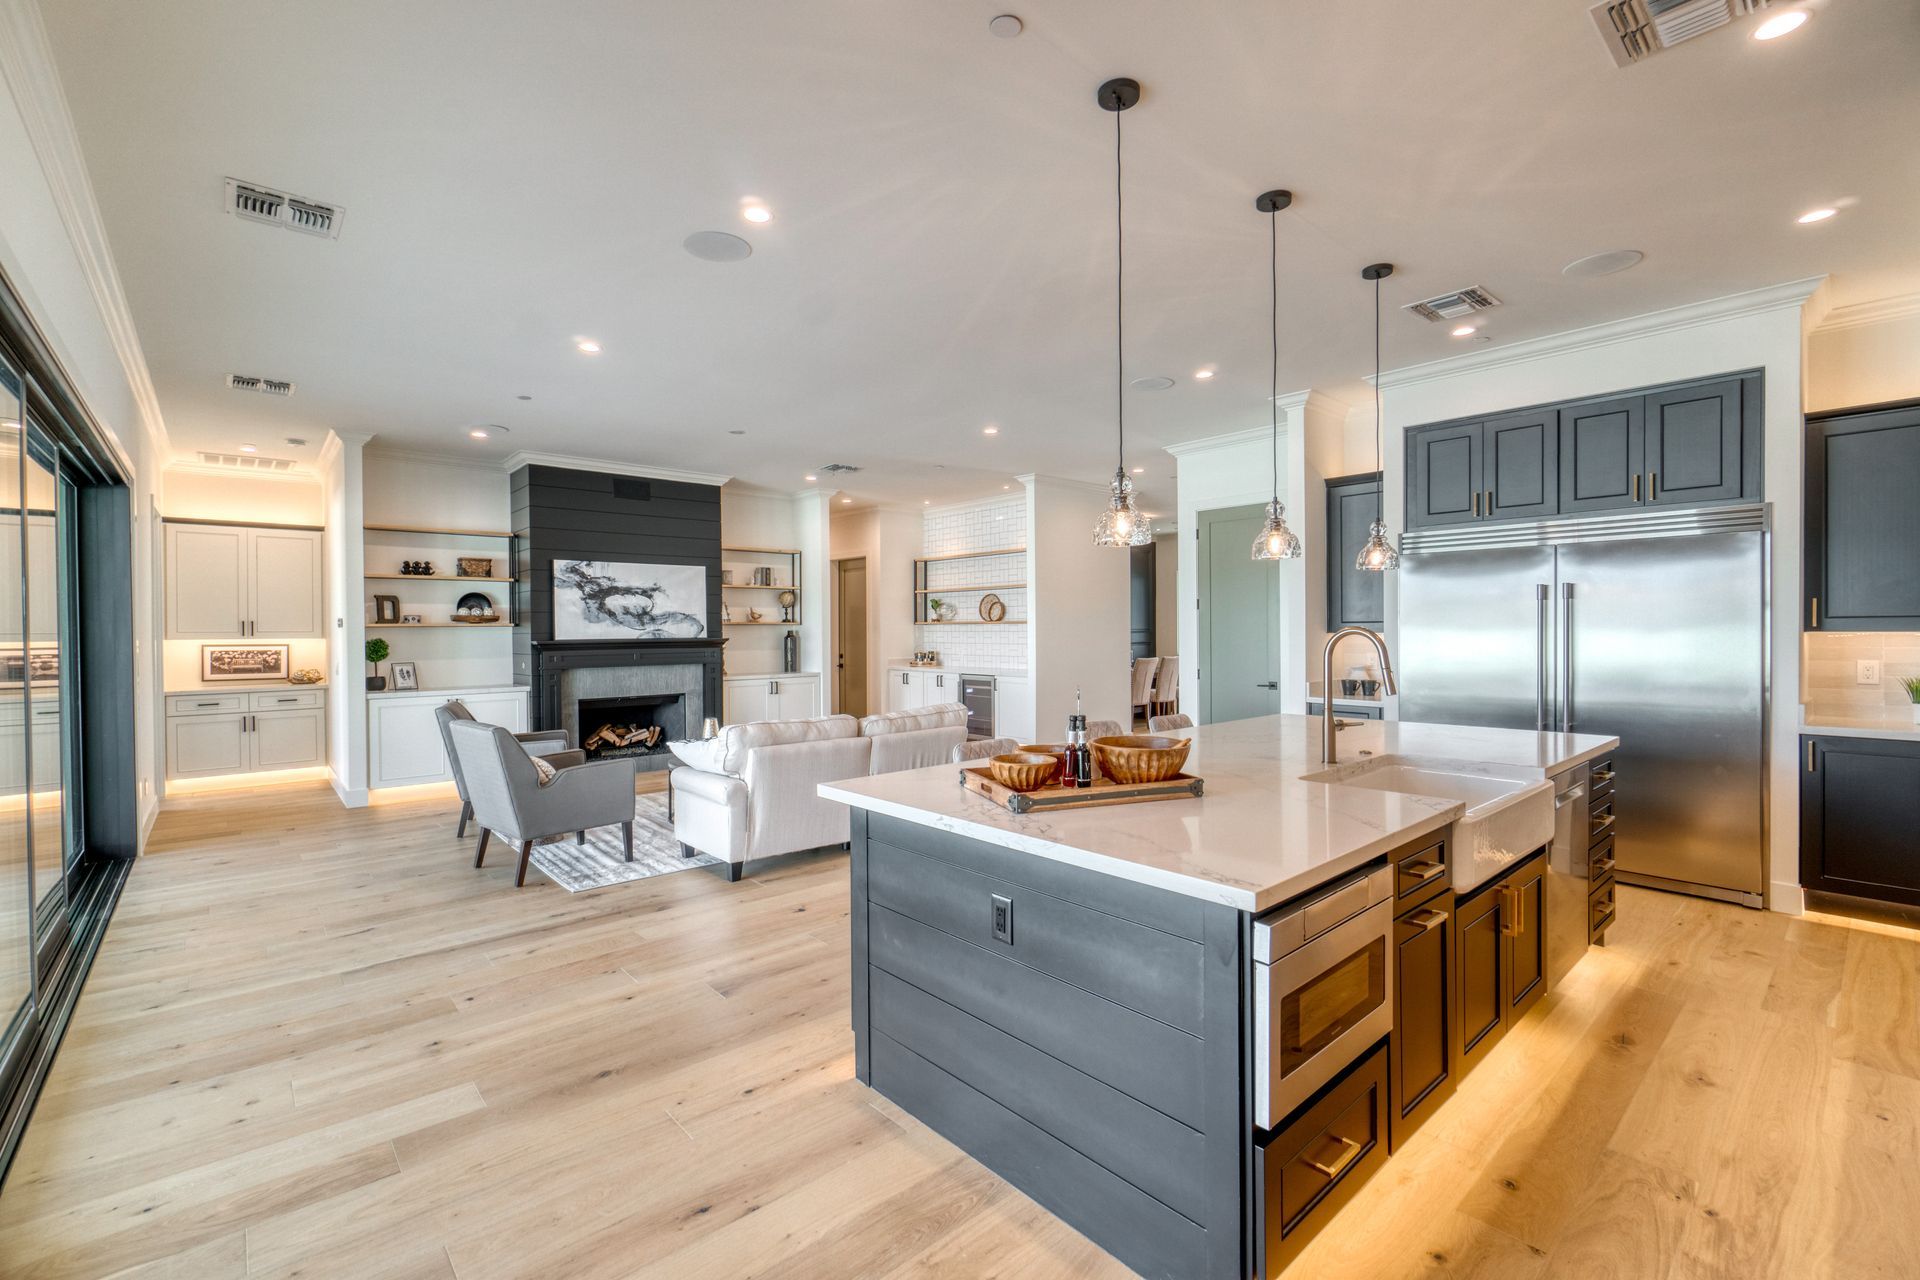
- Laminate Flooring: Ideal for living rooms and bedrooms, offers the look of wood at a fraction of the cost.
- Vinyl Plank: Water-resistant, perfect for kitchens and bathrooms.
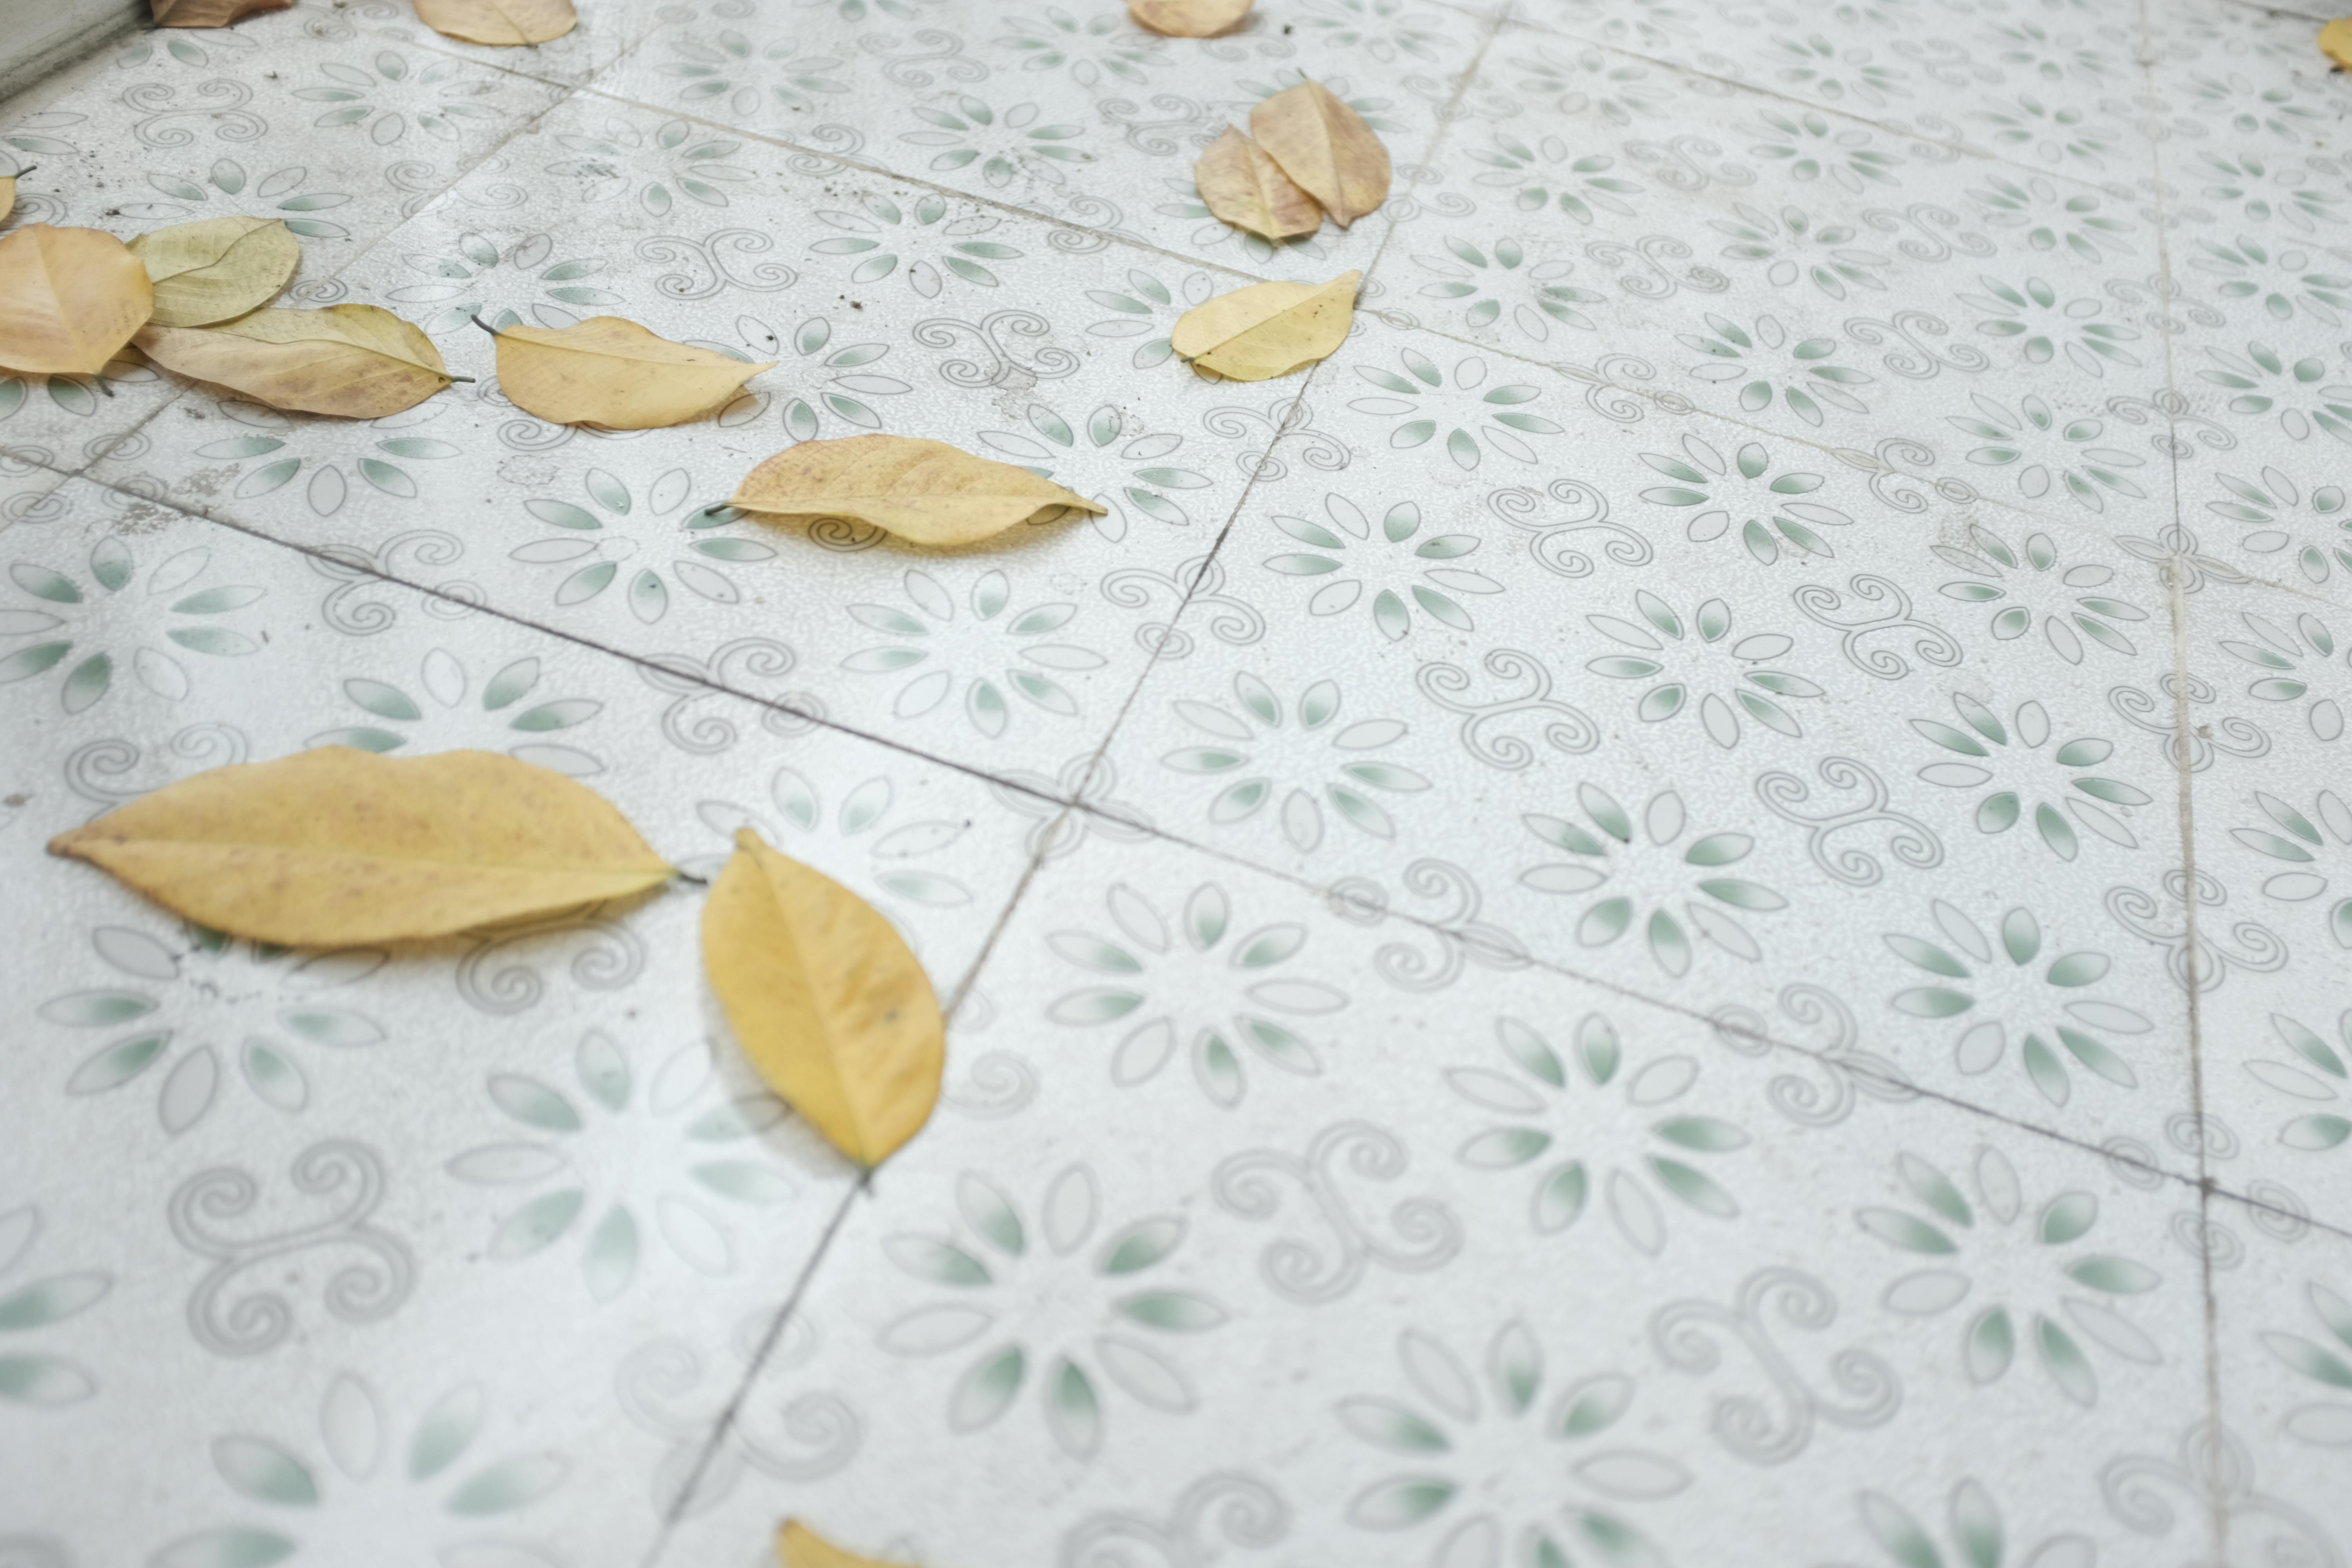
- Ceramic Tiles: Durable and stylish, great for entryways and bathrooms.
- Carpet Tiles: Soft and warm, suitable for bedrooms and playrooms.
Each type has its advantages, so choose the one that fits your needs, budget, and aesthetic preferences.
Step 2: Gather Necessary Tools and Materials
Once you've selected your flooring type, gather the necessary tools and materials. Here's a basic list to get you started:
- Measuring tape
- Utility knife
- Flooring adhesive or underlayment
- Spacers (for laminate and vinyl)
- Rubber mallet
- Level
- Safety gear (gloves, goggles, knee pads)
Having the right tools on hand will ensure a smoother installation process.
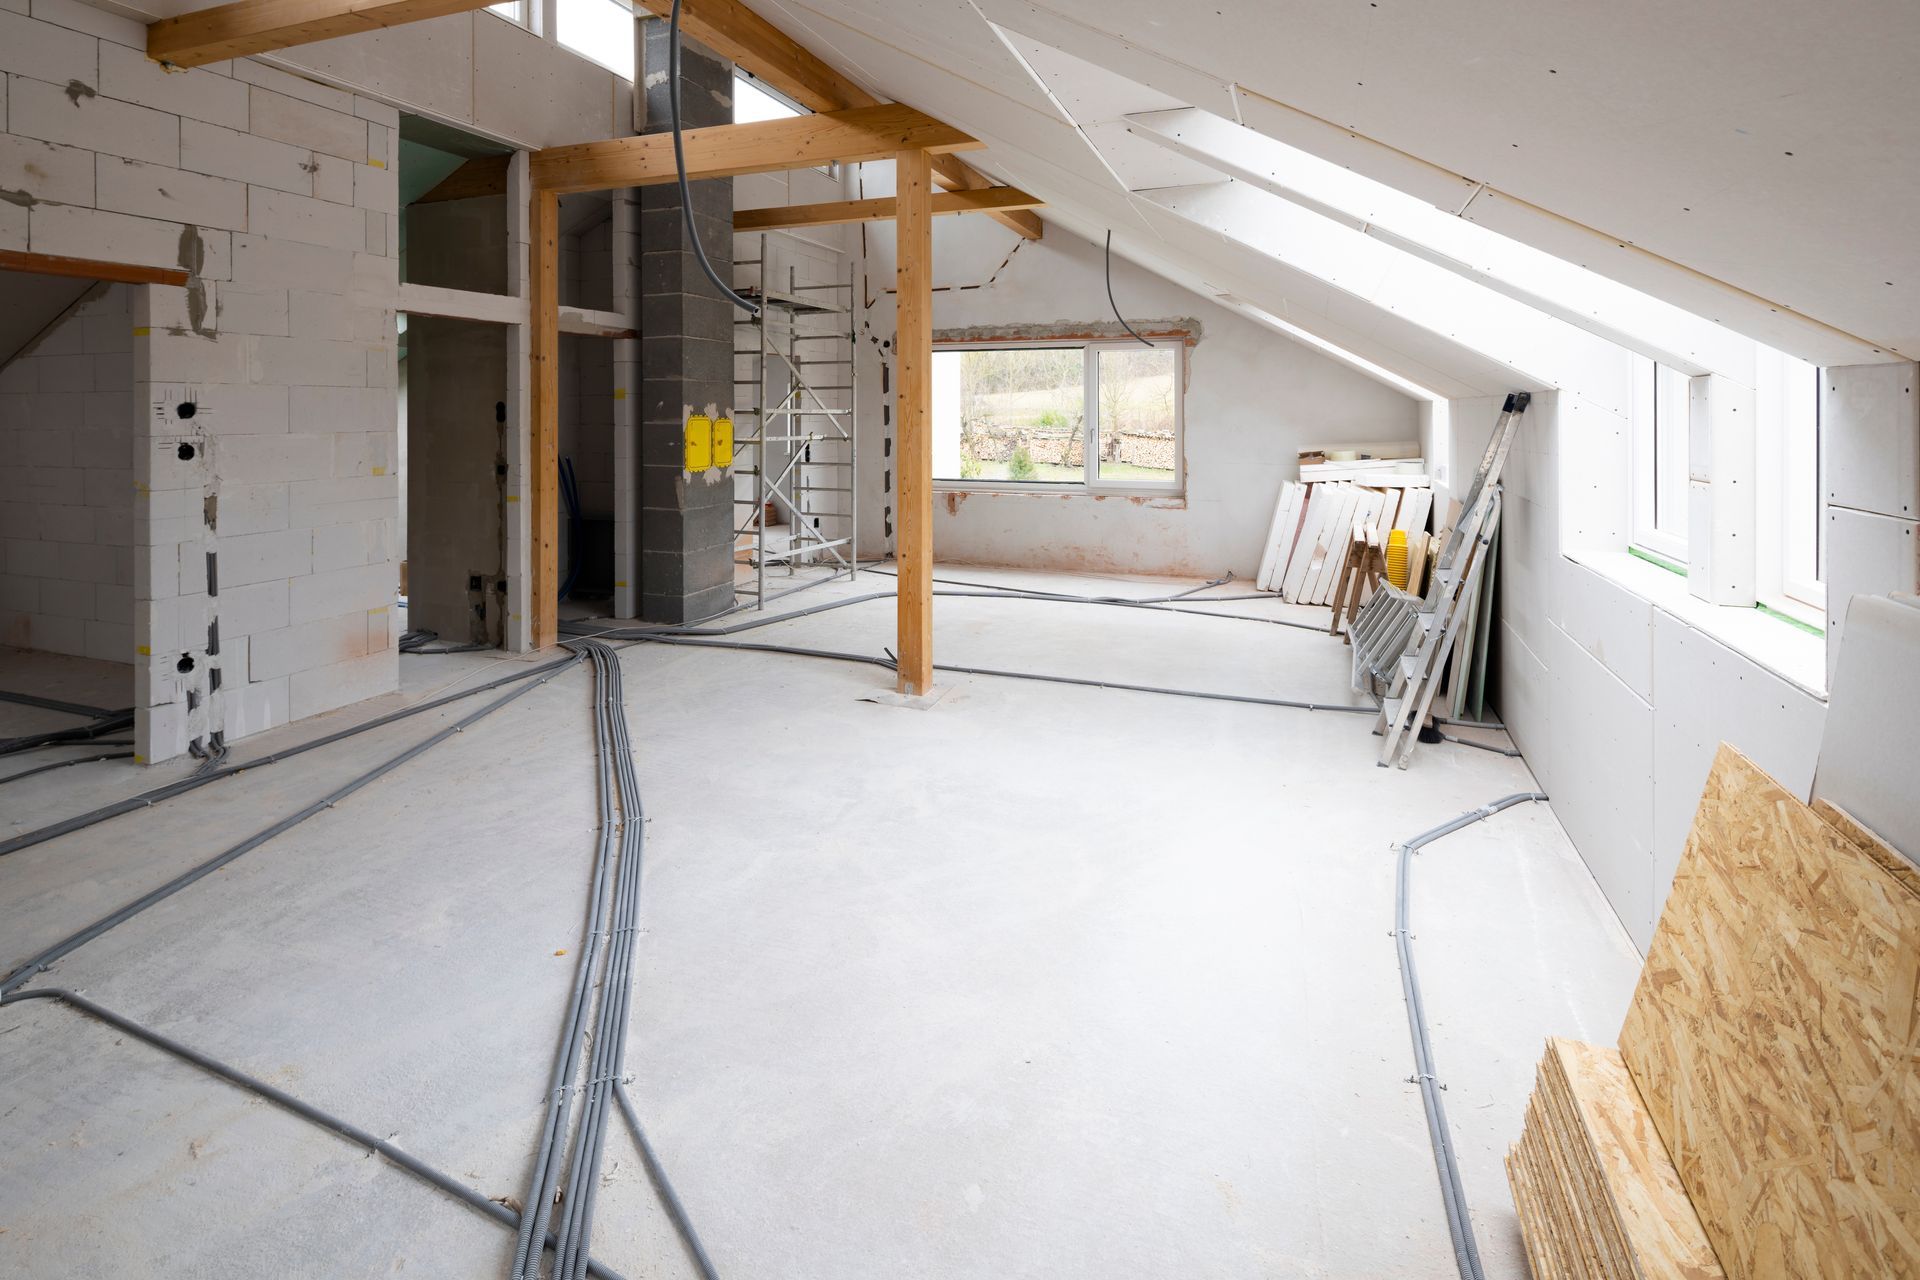
Step 3: Prepare the Surface
Preparing your floor is a crucial step in ensuring a successful DIY installation. Begin by removing any old flooring, cleaning the subfloor thoroughly, and making sure it's level. Address any issues such as cracks or uneven surfaces. A clean, flat surface is essential for the longevity of your new flooring.
Step 4: Install Your New Flooring
Laminate and Vinyl Plank Installation
For laminate and vinyl plank flooring, start by laying out your underlayment if needed. Begin at a corner of the room, leaving a small gap between the flooring and the wall for expansion. Use spacers to maintain this gap. Connect the planks using the click-lock mechanism, tapping them together with a rubber mallet for a snug fit.
Ceramic Tile Installation
If you're installing ceramic tiles, begin by marking the center of the room to ensure a balanced layout. Apply tile adhesive to a small area using a notched trowel, then lay the tiles, pressing them firmly into place. Use spacers between tiles for uniform grout lines.
Carpet Tile Installation
For carpet tiles, start at the center of the room and work your way outward. Use double-sided tape or adhesive squares to secure the tiles. Ensure the pile direction of each tile is consistent for a cohesive look.
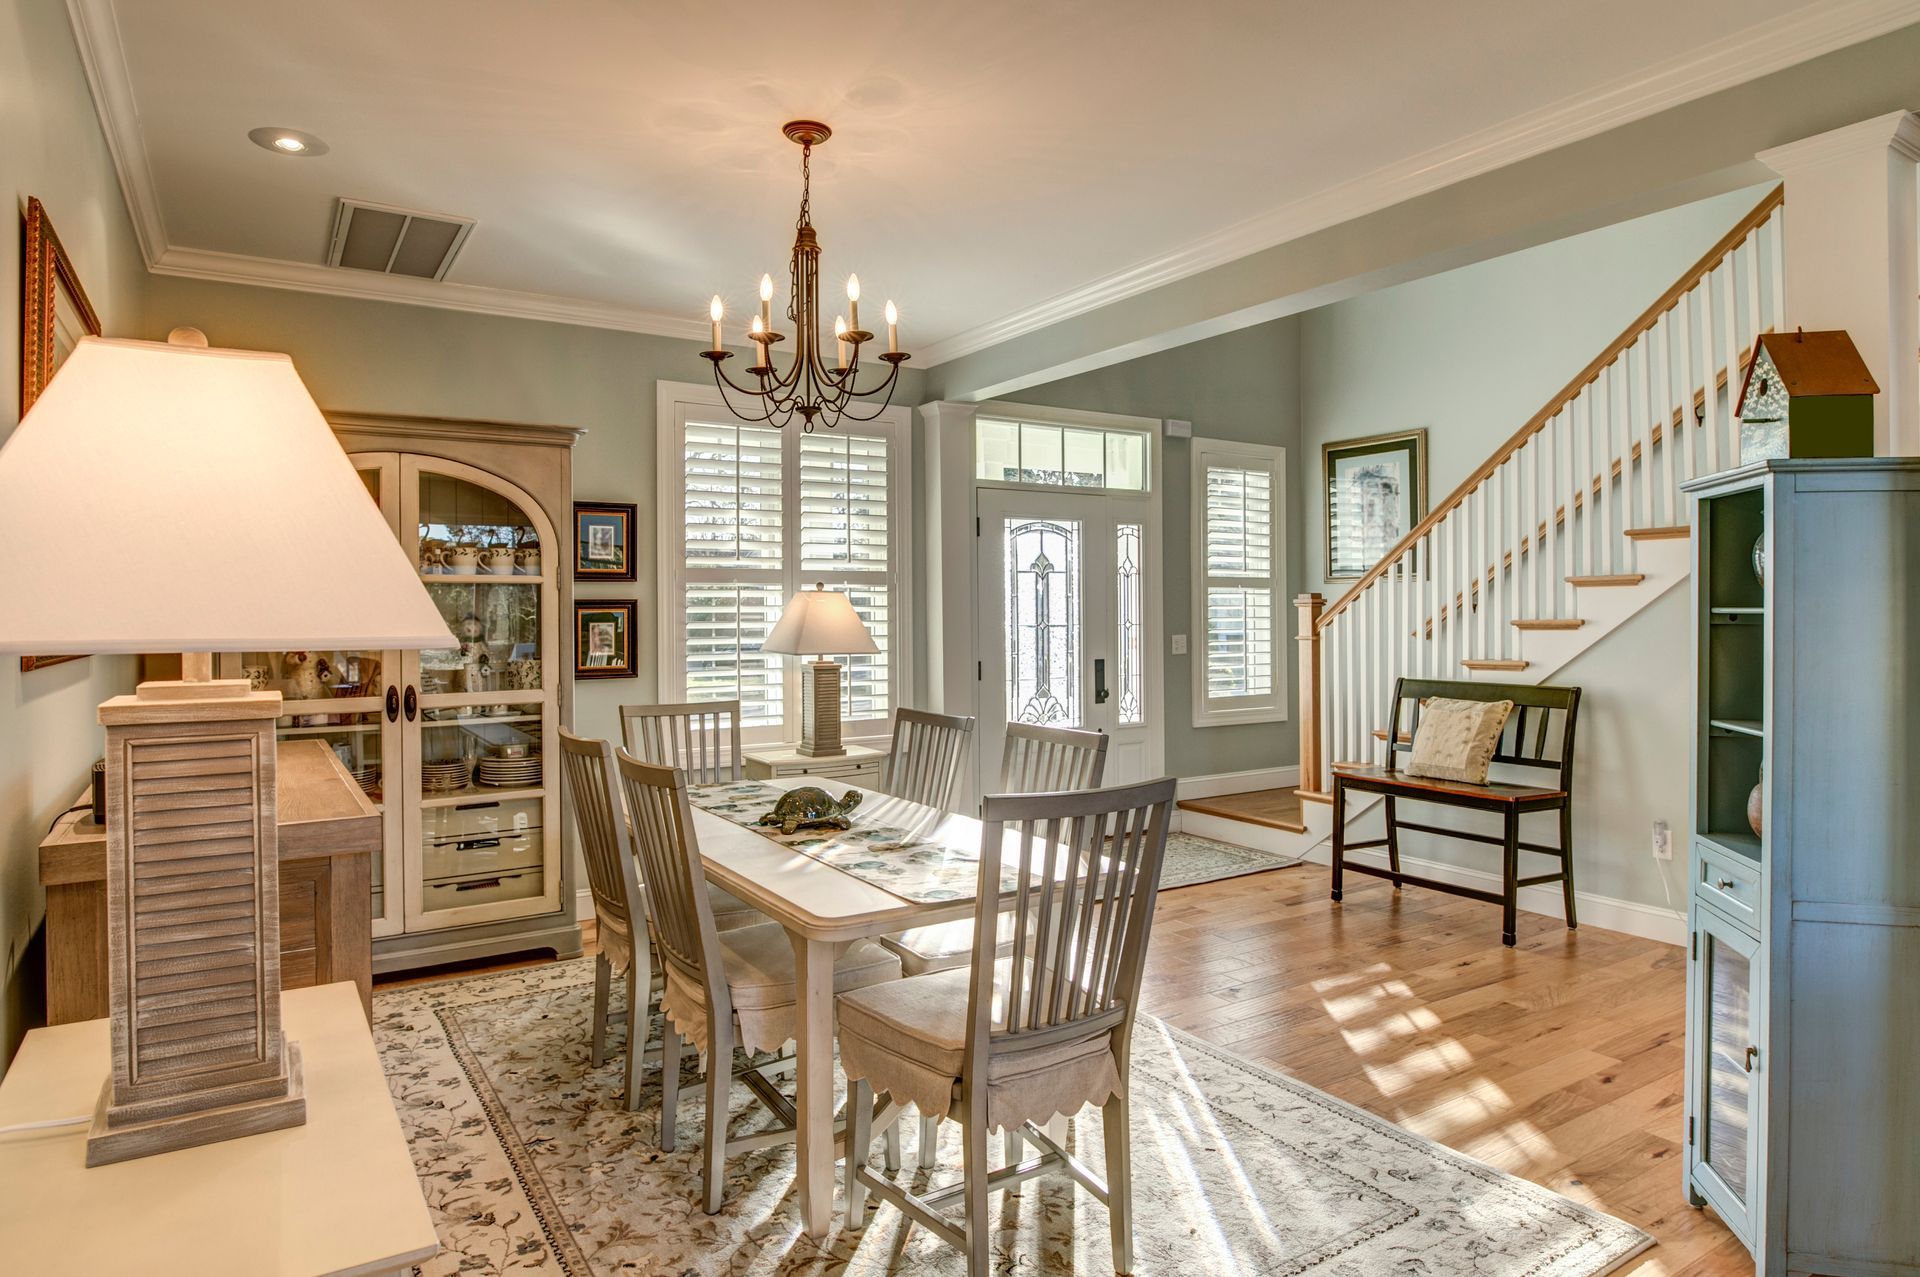
Step 5: Finish and Maintain Your New Floor
After installation, finish your flooring with appropriate trim or molding to cover expansion gaps. Regular maintenance, such as sweeping and occasional mopping for hard surfaces, will keep your floors looking new. For carpet tiles, regular vacuuming is essential.
Conclusion: Embrace Your DIY Success
Embarking on a DIY floorcovering project in your Hyattsville home can be an incredibly satisfying endeavor. With the right preparation, tools, and materials, you can transform your space while saving on professional installation costs. If you find yourself needing guidance or professional assistance at any point, Hawkins Home Improvement & Floorcovering is here to help. Our team offers expert advice and services to ensure your home's flooring is both beautiful and durable.
Remember to share your completed projects and experiences with us, and stay tuned for more tips and guides from Hawkins Home Improvement & Floorcovering.